Why have a business email instead of a regular Gmail address?
- It boosts the credibility of your business and attracts more clients.
- It allows you to promote your brand’s domain name every time you send an email.
- Just think to yourself, which one will you consider a serious business? A funky address like [email protected] or [email protected] address? Of course, the latter sounds more professional.
If you’re a working professional in any niche, having a custom domain email (username@example.com) can be an unique identity to contact you for any business inquiry. In this tutorial, you will learn a free method for creating a business email with Cloudflare Email routing.
How much does it cost?
Nothing much. You need to buy a domain name for your brand email. Roughly it will cost approximately USD 10 only per year. Or, you can use the existing domain if you already have one. You do not need to pay anything specifically for the email hosting solution.
Step 1. Buy a Domain Name
You can buy a domain name for your brand with the ‘Google Domains‘ website at affordable pricing. They include free whois privacy protection for preventing spam on domain ownership information.
Another company that lately started offering the cheapest domain name with free whois privacy is ‘Cloudflare’ without any markup.
Cloudflare is a leading organization that provides Internet services to many famous global brands such as DigitalOcean, Linode, Medium (Publishing Platform), OkCupid (Dating Site), Zendesk (SaaS company), to name a few. It’s a dominating market leader in the field of performance and security. They handle ~20% of all Internet traffic.
Recently, Cloudflare started providing free Email Routing services. We can use its free email forwarding feature for creating a business email.
Step 2. Create a Cloudflare Account
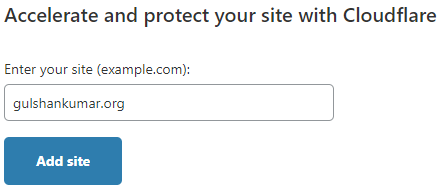
Step 3. Add your Domain to Cloudflare
- If you have multiple account links, simply choose the one that belongs to you.
- After adding domain name, update the nameservers as suggested by Cloudflare.
- Click on add site button
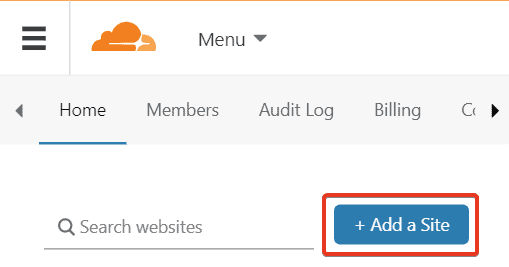
- Add your domain name
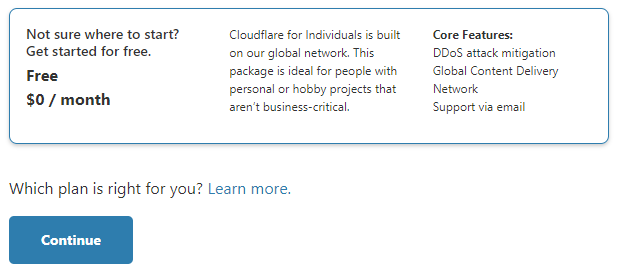
Step 4. Select the Free Plan
The free plan of Cloudflare comes with free email routing services that we need in next steps.
Step 5. Review DNS Records
- If you’ve any existing website associated with it, you can manually review all DNS entries and ensure all are there.
- Next, proceed.
- If it is just a new domain only for email purpose, you don’t need to worry. Simply, proceed.
Step 6. Update Cloudflare Nameservers
- Go to Domain Registrar
- Update there as provided by Cloudflare.
Fun fact: It comes with prefix of Male and Female name.
asa.ns.cloudflare.com
marek.ns.cloudflare.com
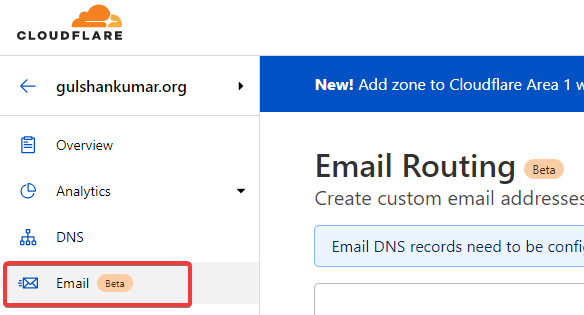
Step 7. Go to Email menu
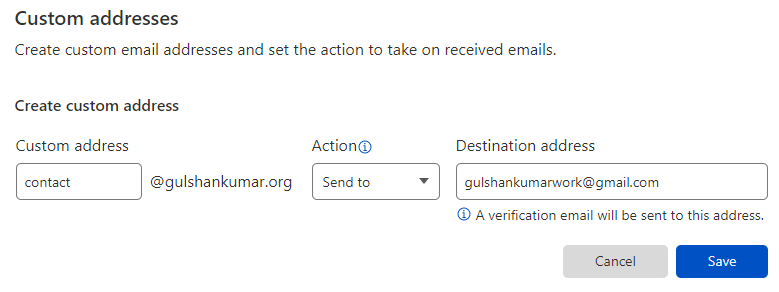
Step 8. Create a Custom Address
- Click on Create custom address
- Enter custom address username. E.g, contact
- Action: Send to
- Destination address: Enter your Gmail Address. For example: [email protected]
- Click on Save
- You will see a message “Pending verification”.
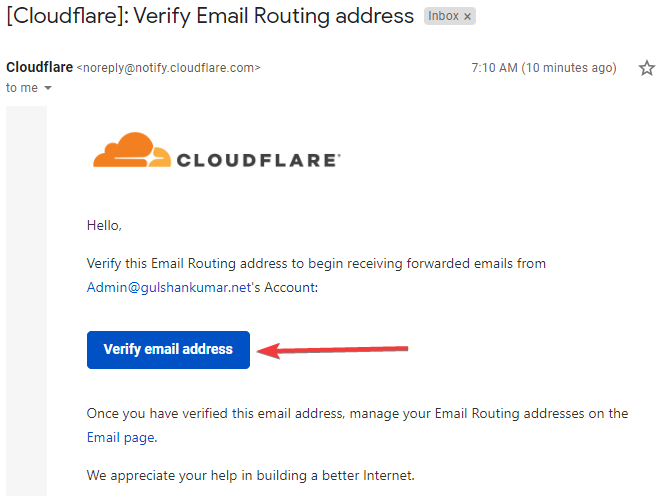
Step 9. Verify Routing Email
The destination email address you entered in previous step need to verified to get email forwarded to it.
Step 10. Add required DNS
- Go back to Email Routing menu for your Domain in Cloudflare
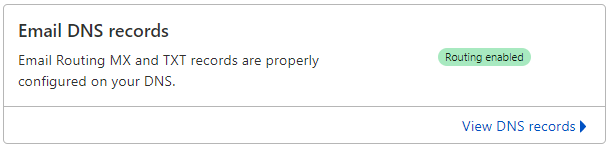
- Click on Add Records Automatically
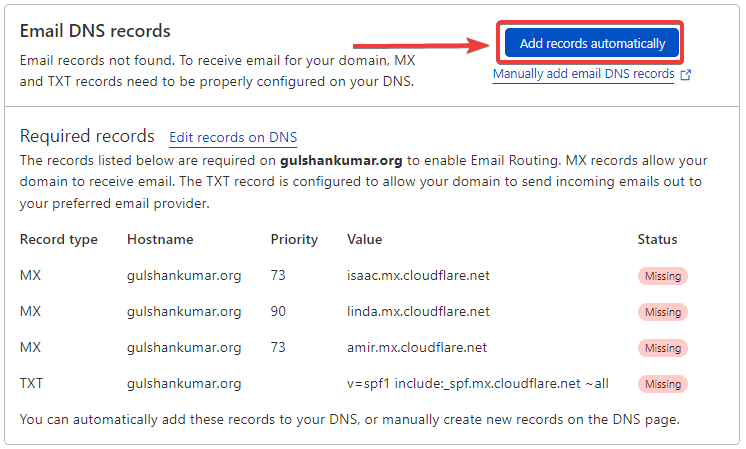
Once added, you will see ‘Routing enabled’.
Result: Email forwarding works
Now if anybody send email at [email protected] e-mail it will be forwarded to the destination address.
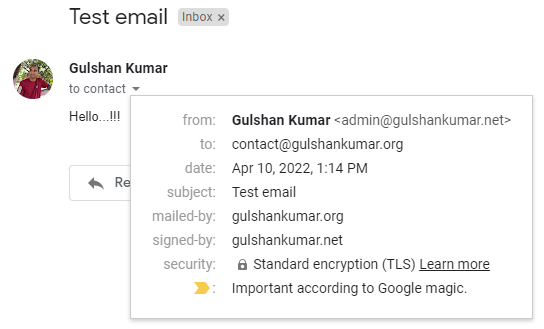
- Email receiving feature is working.
What’s next?
- Now, we need to configure SMTP for sending feature for replying.
Note: Consider replacing Cloudflare provided SPF record to below one to ensure outgoing email doesn’t land into spam folder.
v=spf1 include:_spf.mx.cloudflare.net include:_spf.google.com ~allStep 11. Configure SMTP
Luckily, we can use free Gmail SMTP (smtp.gmail.com, 587) getting reply functionality.
Generally, SMTP consists four things.
- SMTP Address: smtp.gmail.com
- SMTP Port: 587
- SMTP Username: This will be your Gmail address
- SMTP Password: It can be Gmail password, but it’s better to use App Password instead.
App password is like an unique password for signin to Gmail with any 3rd-party solution.
Create App Password
- To create an App Password, please enable Two Factor Authentication in your Google account. Without completing this required step Google doesn’t show allow App password feature.
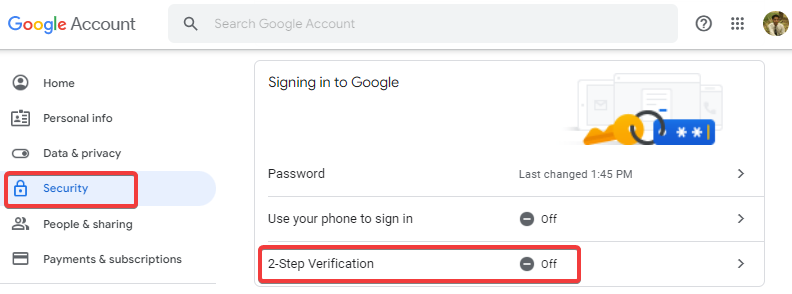
Once 2-Step Verification enabled, you can see option to create App Password.
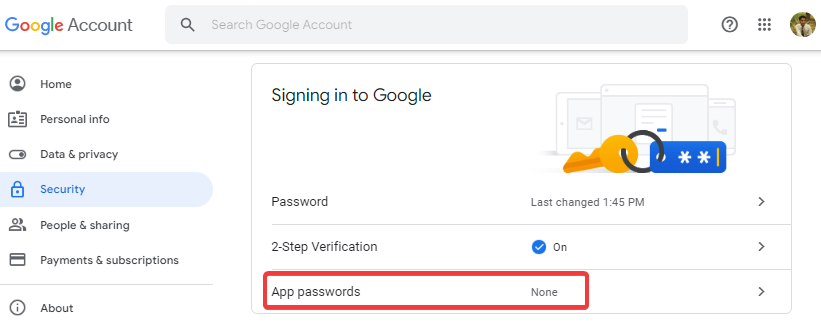
Choose App: Other (custom name)

Enter Custom Name: Gmail SMTP and Click GENERATE button.
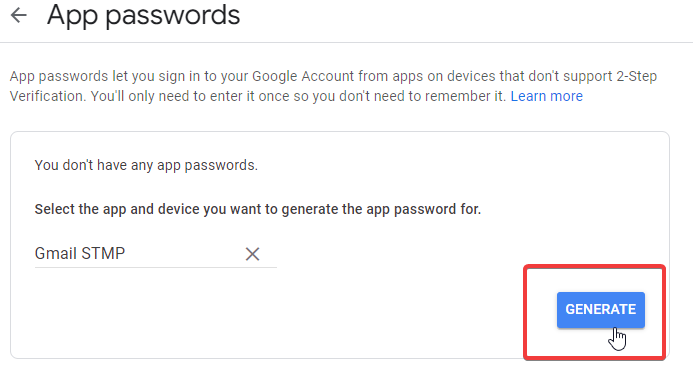
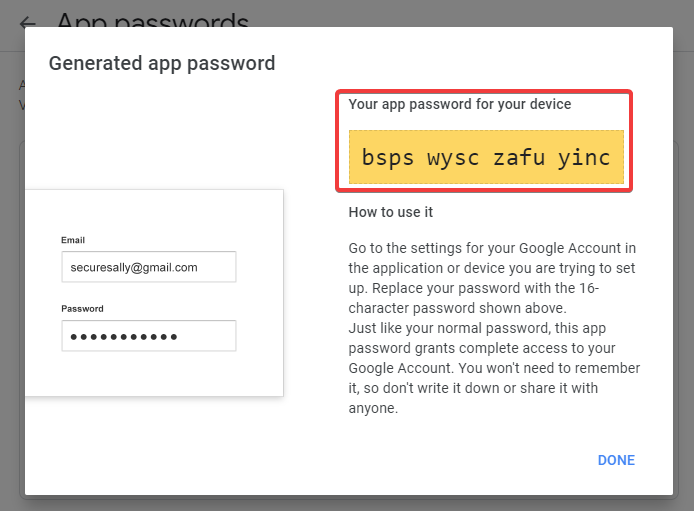
Copy the Generated app password
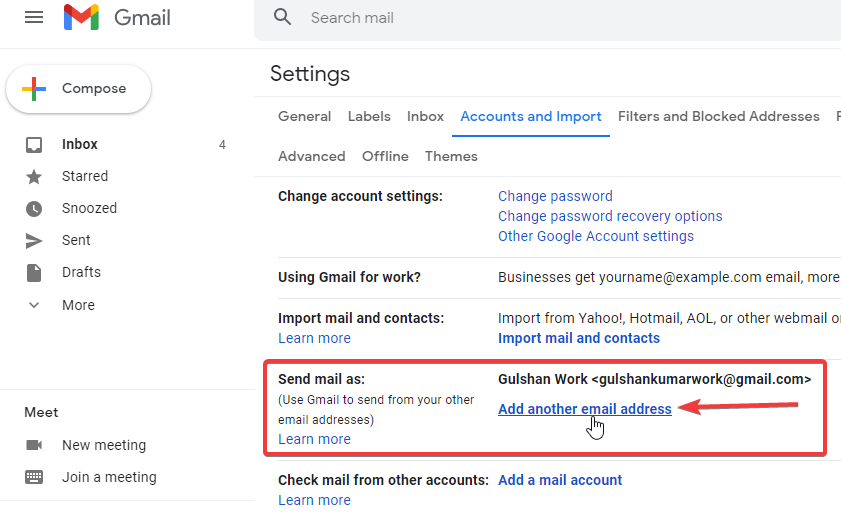
Go to Gmail Settings

- Go to Accounts and Import tab
- Under Send mail as: click on ‘Add another email address’.
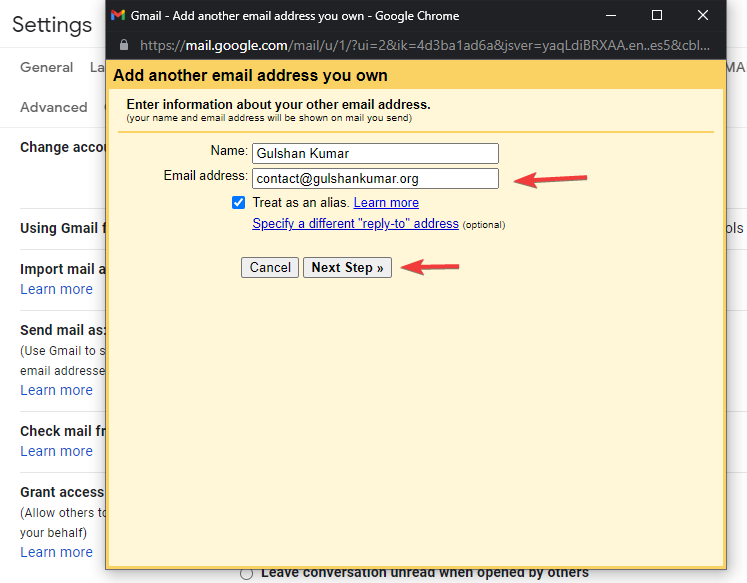
Enter information about your custom domain name email address.
- Name: Type your name.
- Email: Type your custom Domain Email address.
- Teat as an alias (Keep the checkbox enabled as it is)
- Click on Next Step button
In this step, we need to provide SMTP credentials where Gmail can connect to send email.
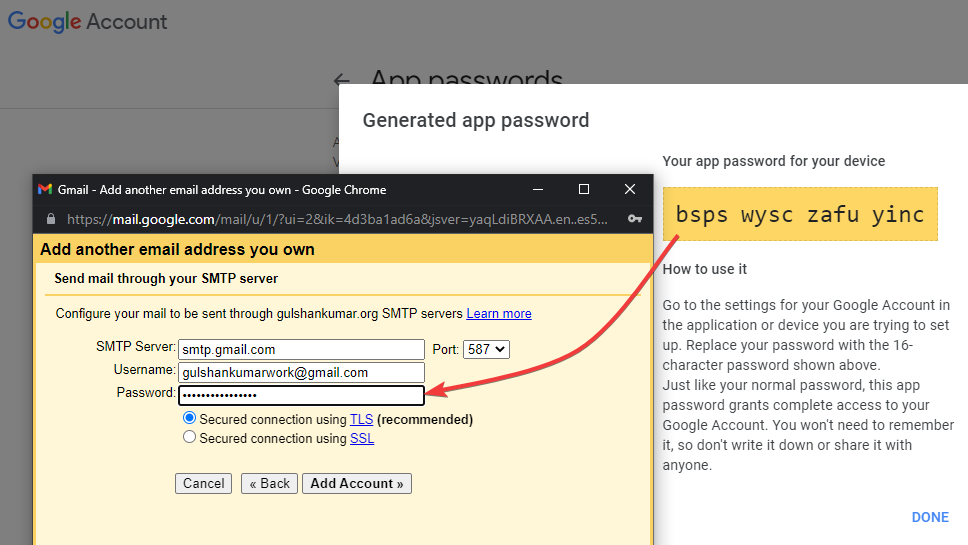
- SMTP Server: smtp.gmail.com
- Port: 587
- Username: Enter your Gmail address
- Password: Enter the app password which we generated in previous step.
- Then, click on Add Account button.
- Now, Google will send an email at your custom domain address ([email protected]) to confirm you actually have access to it.
Glad, we have already setup email forwarding (from [email protected] to [email protected]) so we can surely receive email from the Google.
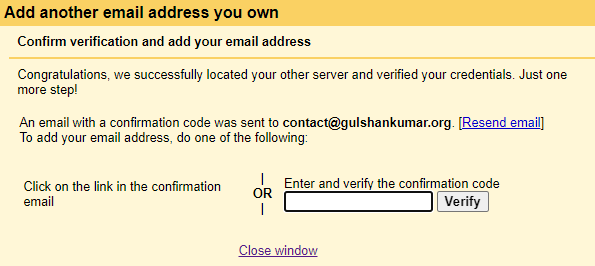
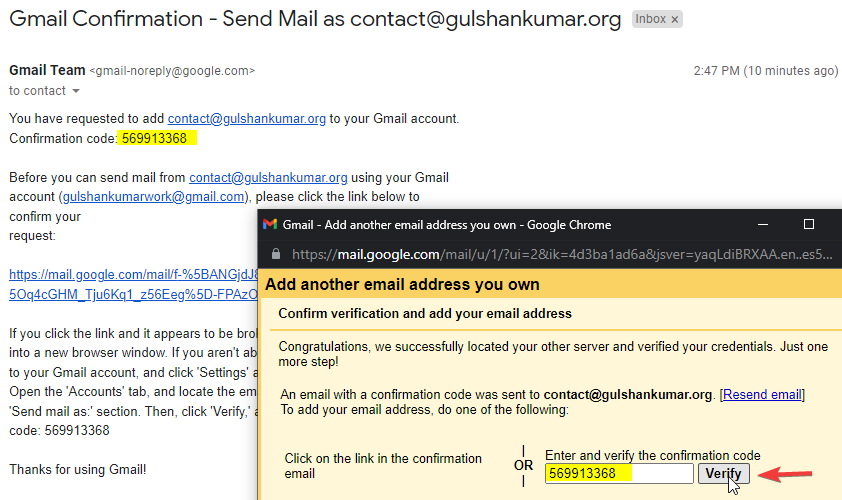
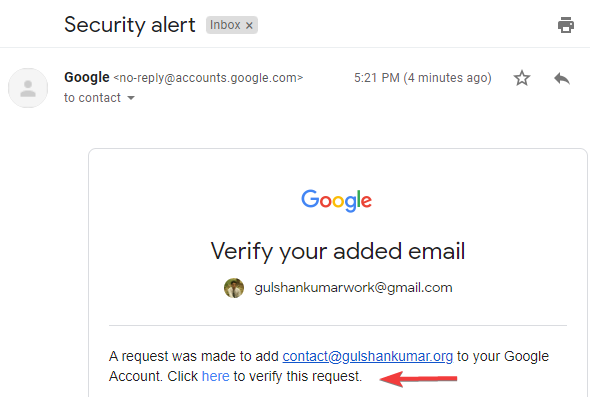
- Check your Gmail Inbox and click on the confirmation link.
- You can either enter the confirmation code or click on the link.
Step 12. Set Default Email to Improve Gmail Experience
- Go to Gmail settings
- Go to Accounts and Import
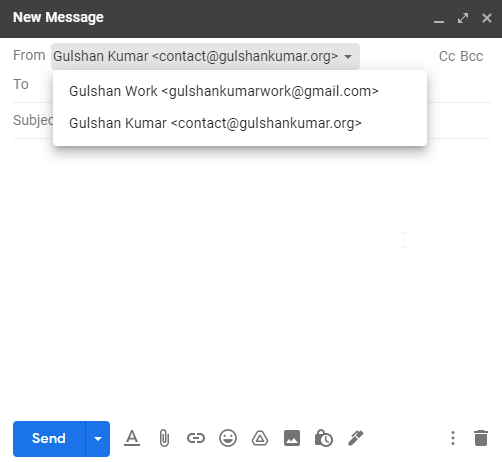
- Send mail as: Set your custom domain email as default sending email for your Gmail
- When replying to a message: Choose ‘Reply from the same address the message was sent to’.
Step 13. Set Profile Photo for Custom Domain Email in Gmail
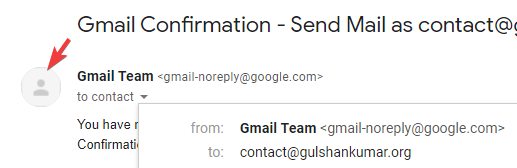
By default, Gmail shows blank profile picture for custom domain. We can set profile photo same as Google account for the custom domain email.
- Simply, go to My Google Account settings page.
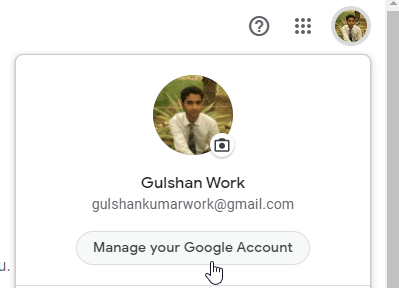
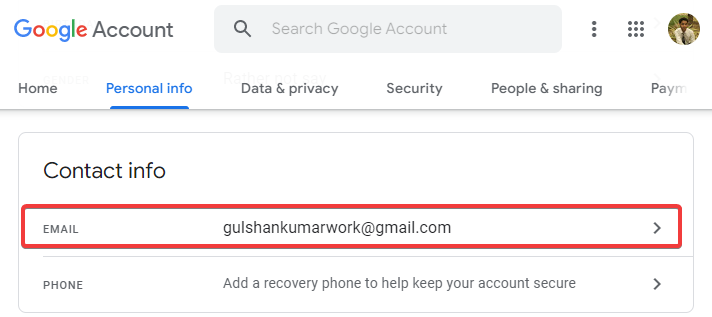
- Go to Personal Info > Click on Email
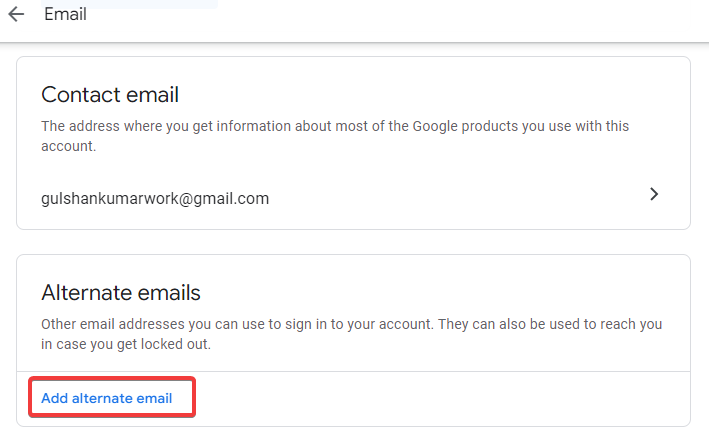
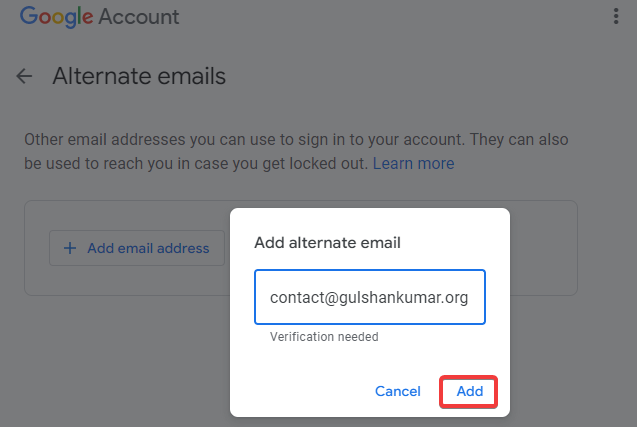
- Then click on the Alternate Email
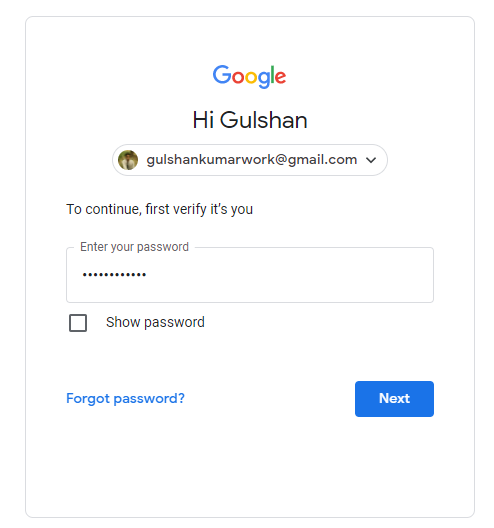
- Login to Gmail account
- In the Alternate email field, enter custom domain email.
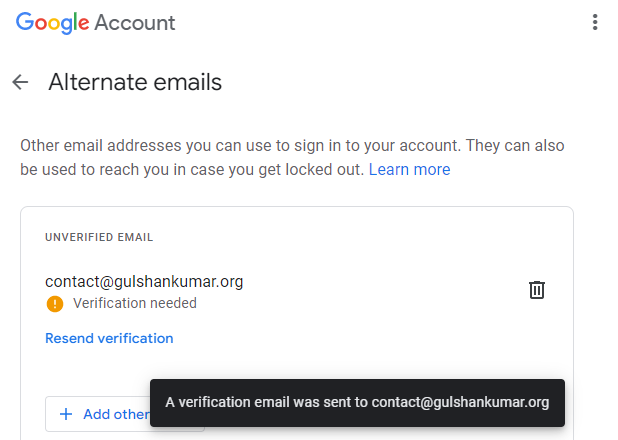
You will see that alternate email is now verified. Google will consider this as your own email.
Fun fact, you can also sign in to your Gmail with custom domain email as replacement of username or regular gmail address.
Now within 24 hours, you will find your custom domain email also have a profile picture same as your Google account. You can test by sending an email to your custom domain business email address.
Alternative
If you have any question feel free to ask in the comment section below.
